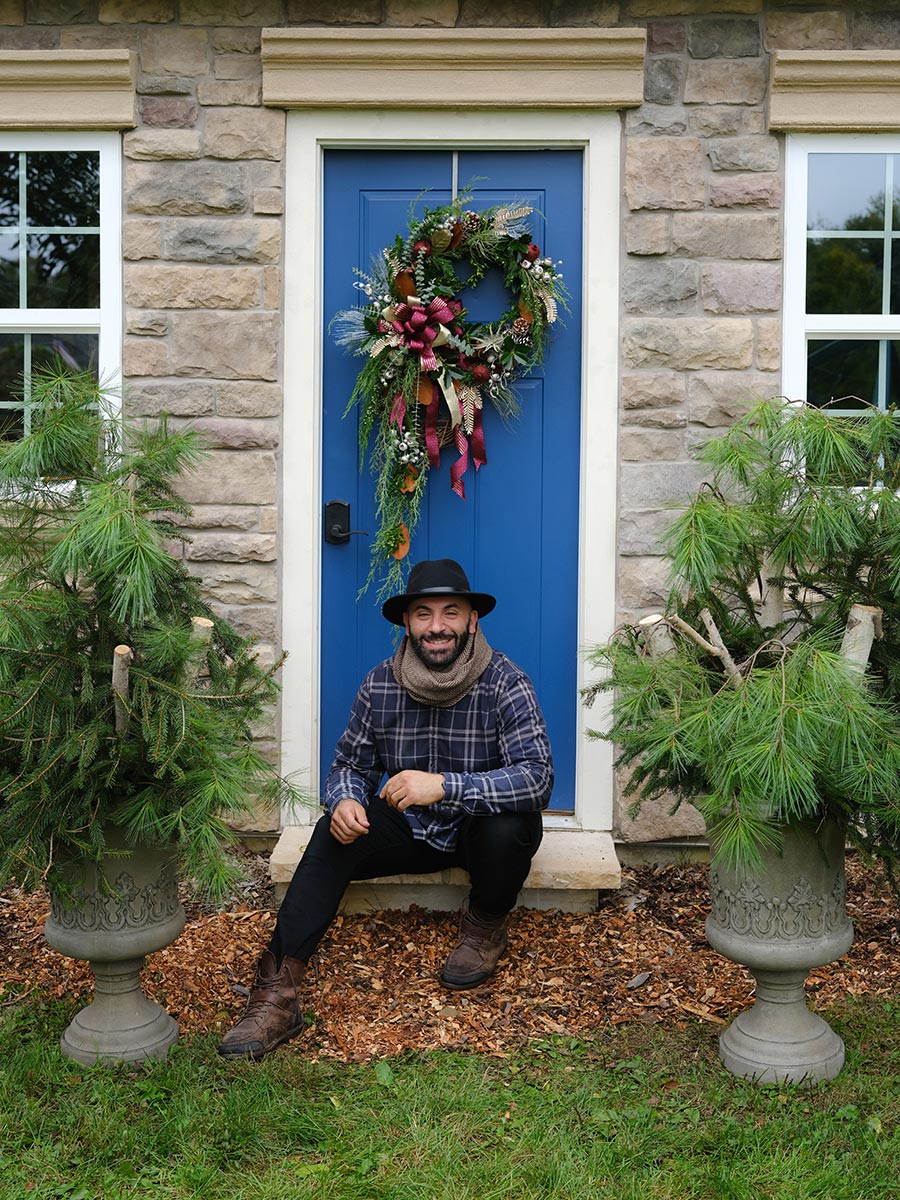
Add something special to your seasonal décor, create a personalized gift for someone else or host a fun night in for friends with this DIY wreath workshop. Owner and Creative Director of Allentown-based Mosaic & Co.—which specializes in creative and custom solutions spanning florals, photography, rentals and so much more—Joe Moussa is sharing his step-by-step guide to making the winter wreath masterpiece of your dreams. Follow along!
What You'll Need
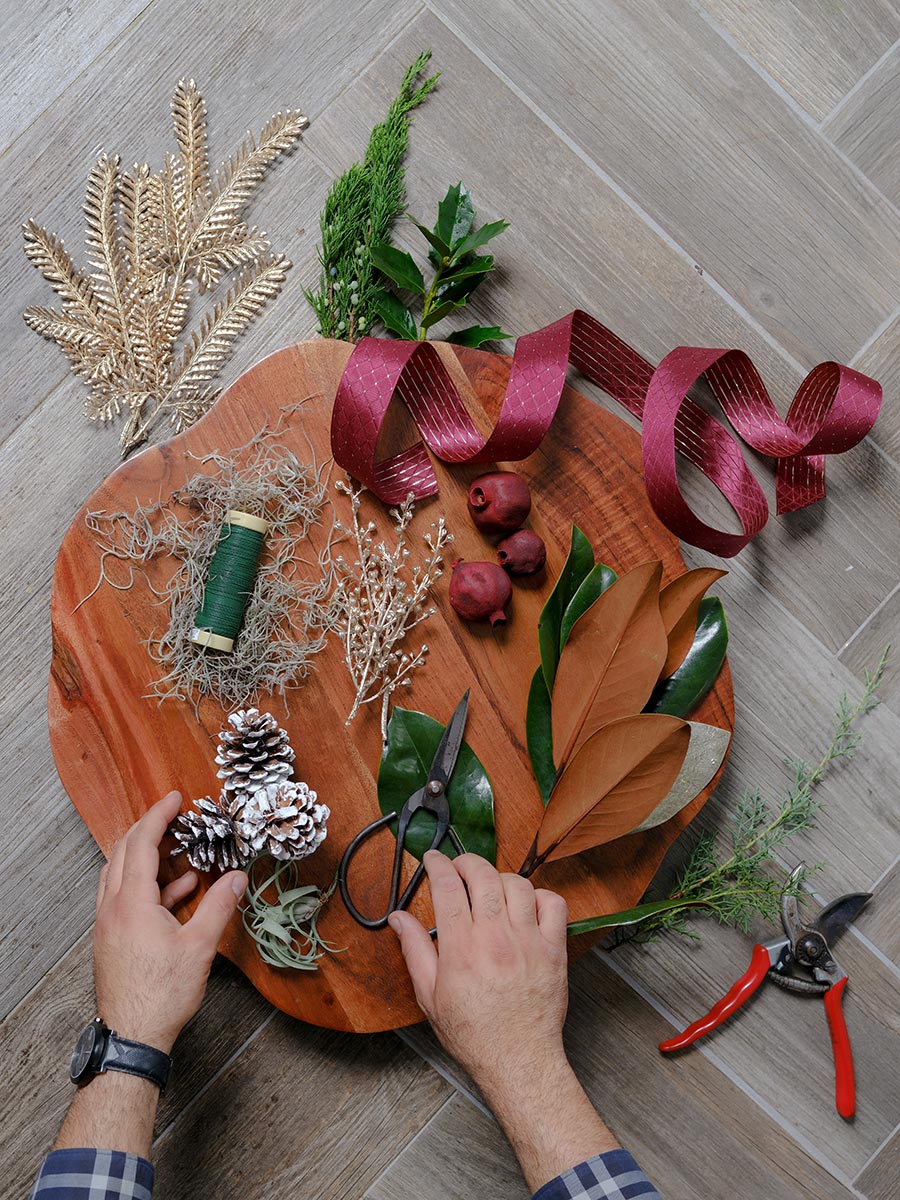
Materials:
- 18-inch grapevine wreath 10-inch grapevine wreath Bind and spool wire
- Ribbon
- Pinecones
- Dried mini pomegranates
- Faux winterberries
- Gold accented greens
- A variety of greens: Juniper, southern magnolia, boxwood, baby blue eucalyptus, holly, large and small air plants, etc.
Tools:
- Felco F2 branch/stem cutter
- Ribbon scissors
- Hot melt glue pillows
- A hot plate/skillet for melting the glue pillows
A Note on Substitutions:
All of the items are substitutable to fit each maker's individual design aesthetic and style. I think it's very important to have fun while making something beautiful for your home. Consider foraging through your own backyard or a neighbors' (with permission, of course!) and explore the beauty around you that you may not be appreciating regularly and bring that into your design. I foraged the holly and juniper pieces out of my landscaping. Pruning the landscaping and creating something beautiful—two birds, one stone!
Joe's Step By Step Guide
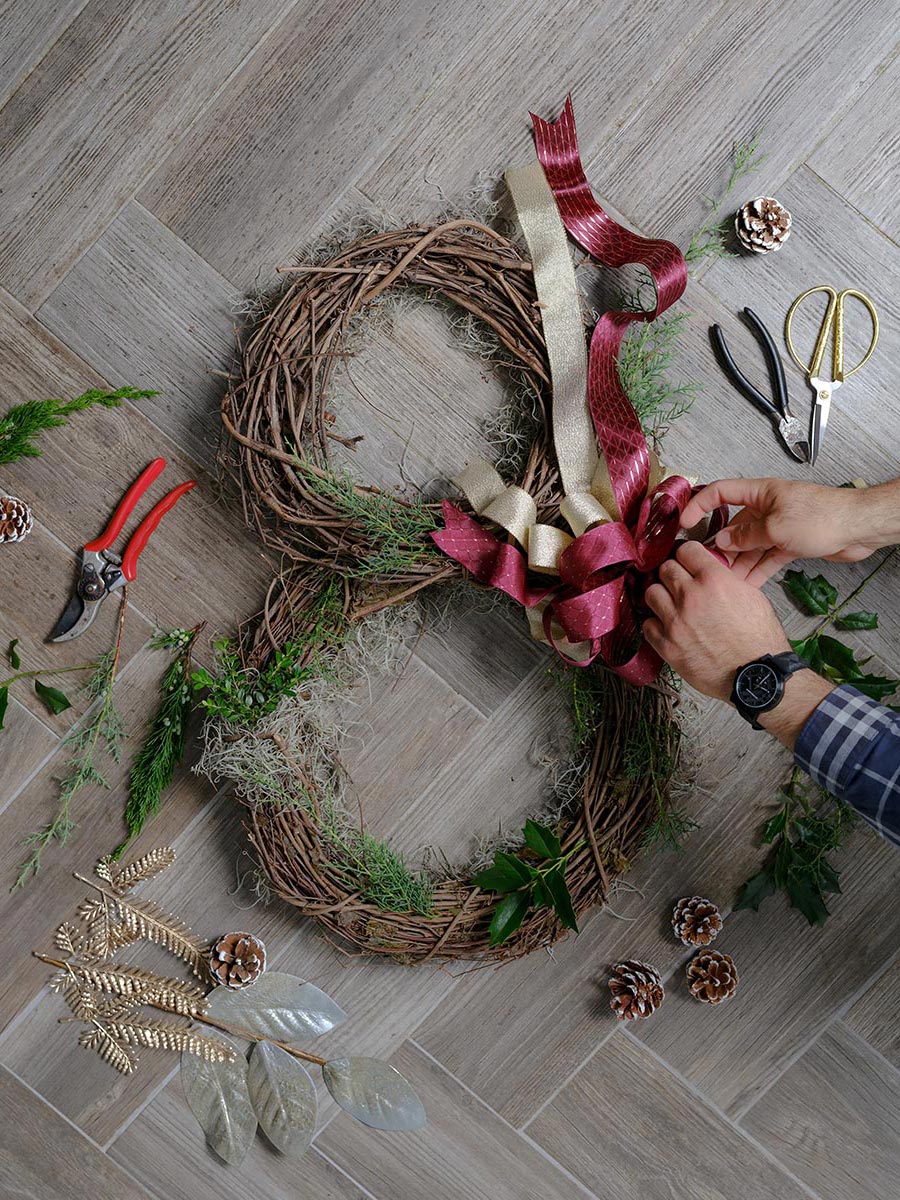
- Start by tying the two grapevine wreaths together with bind wire. I use the brown bind wire, as it blends well with the natural grapevine.
- Build your bow. Bows are usually the first thing I place onto my wreaths. They are generally the largest piece in the design and, once placed, help me decide how I will move forward with layering my greens and other accessories. I usually use the bind wire to attach the bow but glue works just as well here.
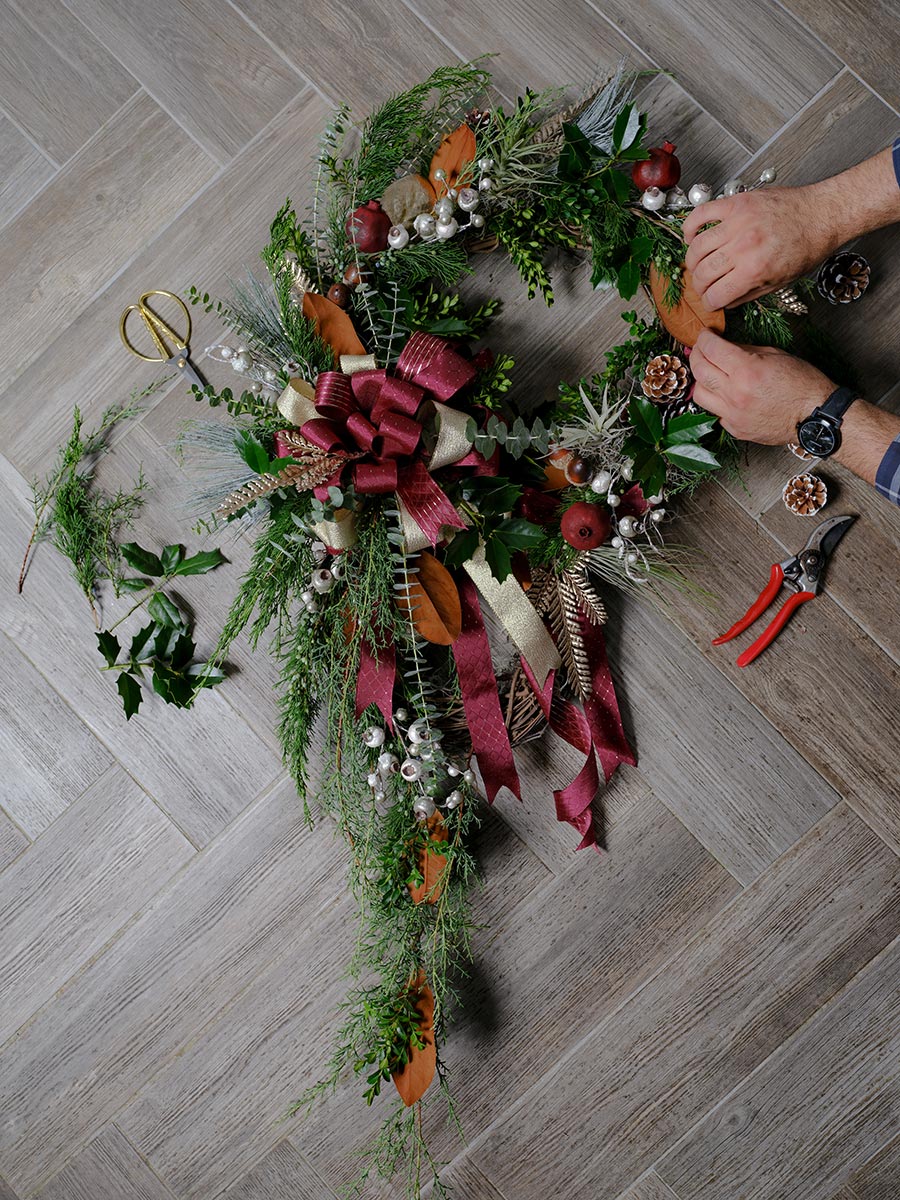
- From this point, start layering the greens you have available. Some of the greens get glued directly onto the wreath and others may be wired on for security.
- When your greens are placed and you have fully covered your grapevine base, add your accessories like air plants, and dried goods like pomegranates, pine cones, etc. This part is the most fun for me, as it helps the wreath come alive.
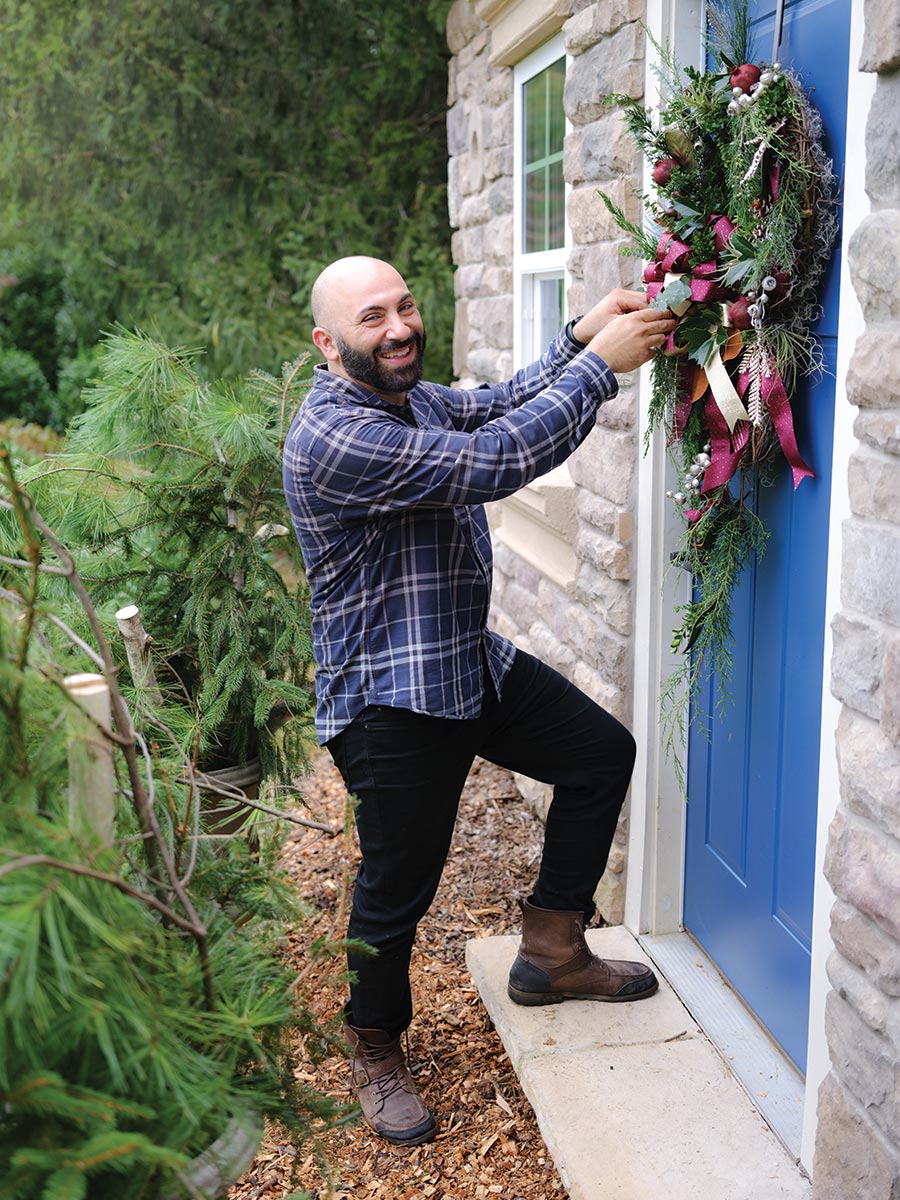
- Once you feel your wreath is complete, hang it on your door and see what additional areas need coverage or balance. Make adjustments as you see fit.
Pro Tips
- Protect your door! For an organic look, glue Spanish moss to the back of the entire wreath. This layer keeps the branches from scratching and damaging your door each time you open and close it. I use the moss because it adds an additional texture, but you could also use a felt backing to keep the door safe.
- Consider using multiple types of ribbon to keep interest and grow the color and texture of your piece.


